
How to Hang Acoustic Panels on Walls (and What About Ceilings?)
Our acoustic panels are self-adhesive: clean the wall, peel off the backing, then press each panel in place and hold it for 30 seconds. No drilling or tools are needed. The adhesive can lift paint when a panel is removed, so if you rent, or your walls are textured, use removable mounting strips instead. Most of the work is in the planning: a level line and a layout decided before you start make the difference between a neat wall and a wonky one.
What you need
- Your panels, plus a layout plan. For hexagons, the hexagon pattern planner lets you design the pattern and counts the packs.
- A tape measure and a pencil.
- A level, or a laser level for a long wall.
- A clean, dry cloth.
- Removable mounting strips, if you rent or your walls are textured.
How to hang acoustic panels on a wall, step by step
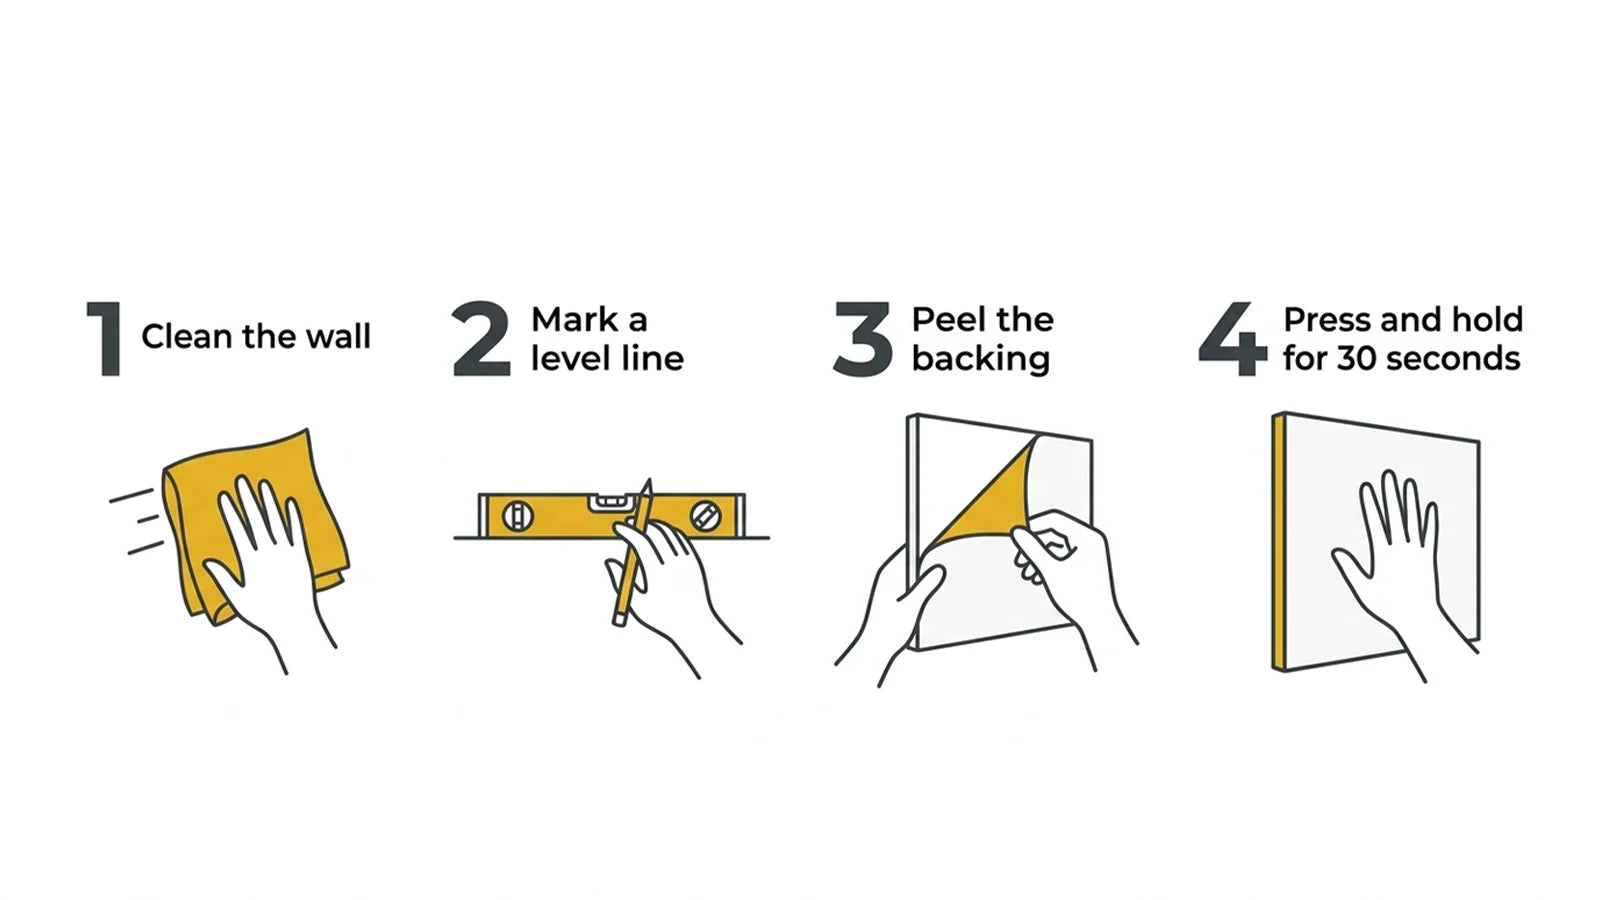
Illustration: the four steps, from clean wall to press and hold.
- Decide where the panels go. For reducing echo, start with the wall you face, the wall behind you, and the side walls level with where you sit. Our guide to where to put acoustic panels covers this room by room.
- Clean the wall. Wipe off dust and grease so the adhesive has a clean surface to grip. If the wall has been painted recently, let the paint cure fully first.
- Mark a level guide line. Measure up to where the bottom or center row should sit and draw a light pencil line across the wall using a level. Every panel lines up off this, so take your time here.
- Dry-fit the first row. Hold a few panels against the line, without peeling the backing, to check the spacing and how the row sits on the wall. Mark the position of the first panel.
- Peel the backing. Remove the backing from the self-adhesive layer on the first panel.
- Press and hold for 30 seconds. Line the panel up with your mark and guide line, then hold it firmly against the wall for 30 seconds.
- Work outward. Add panels along the line from the first one, keeping the gaps even, then build the next rows from the first.
Layout tips
- Start in the middle. For a centered block, such as above a sofa or a bed, mark the center of the area and work out from it, so the layout ends up even on both sides.
- Pick a gap and keep it. Edge to edge or with a small gap both look good. Mixing them doesn't, so cut a scrap of card to the gap width and use it as a spacer.
- Hexagons: build from one panel. Stick the first hexagon at the center of the pattern, then add each neighbor edge to edge so the honeycomb stays tight.
- Felt rectangles: decide on orientation. The 15.7 × 11.8 in panels can run landscape or portrait. Pick one per wall.
Renters and textured walls
The product listing is clear on this: the adhesive can lift paint when a panel is removed. If you rent, or may want to take the panels down later, use removable mounting strips instead of the built-in adhesive. The listing recommends strips on textured walls as well.
When you use strips, follow the strip maker's instructions for surfaces and weight, and try one strip on a hidden spot first to see how it comes off your paint.
What about ceilings?
We don't sell ceiling products, and our panels are made and listed for walls. We don't recommend sticking them to a ceiling: anything fixed overhead with adhesive alone can fall, which is a safety risk, especially over a bed, a sofa or a desk. If you want to treat a ceiling, use products designed and rated for overhead mounting, installed according to their instructions. For most rooms, walls do most of the job anyway.
How many panels to buy
Each felt 6-pack covers about 7.75 sq ft and each hexagon 12-pack about 7.5 sq ft. To reduce echo, a common starting point is about 20–25% of a room's wall area. Use the panel calculator to turn your room size into packs, or the wall square-footage calculator to measure one wall.
The two packs
- Felt Acoustic Panels, 6-pack: dense polyester felt, 15.7 × 11.8 in (40 × 30 cm) each, 26 colors. $39.99.
- Hexagon Acoustic Panels, 12-pack: high-density acoustic board, 11.8 × 10.2 in (30 × 26 cm) each, 26 colors. $44.99.
Both are 0.35 in (0.9 cm) thick, self-adhesive, and ship free to the US and UK; see the shipping policy for delivery times. Panels absorb echo inside a room; they don't block noise through walls (see our soundproof wall panels guide).
Questions people ask
Can I hang acoustic panels without damaging the wall?
The safer route is removable mounting strips rather than the built-in adhesive, because the listing states that the adhesive can lift paint when a panel is removed. Strips vary, so test one on a hidden spot first.
Do I need any tools?
No drilling or tools. A tape measure, a pencil and a level are all you need to get the panels straight.
Can acoustic panels go on the ceiling?
Not ours. They are made and listed for walls, and we don't recommend sticking them overhead. For ceilings, use products designed and rated for overhead mounting.
Will the adhesive work on a textured wall?
The listing recommends removable mounting strips instead of the built-in adhesive on textured walls.
How do I keep the panels level?
Draw a light pencil guide line with a level before you start, dry-fit the first row against it, and build every other row from that first one.
1. Your room
We subtract 21 sq ft (1.95 m²) per door and 15 sq ft (1.39 m²) per window.
2. What you use the room for
3. Pick your panels
Your result
Free US shipping · 30-day guarantee. Want to mix colors? Add the first color here, then add more from the product page.
Where to put them
- Start at ear height, about 3 to 6 ft from the floor.
- Cover the wall your microphone or face points at, and the side walls level with where you sit.
- Spread panels in a few groups rather than one big block on one wall.